Not much of an update his week as I had a bunch of dental work done Monday morning and I was down for the count until Thursday. I’m back to normal now, though.
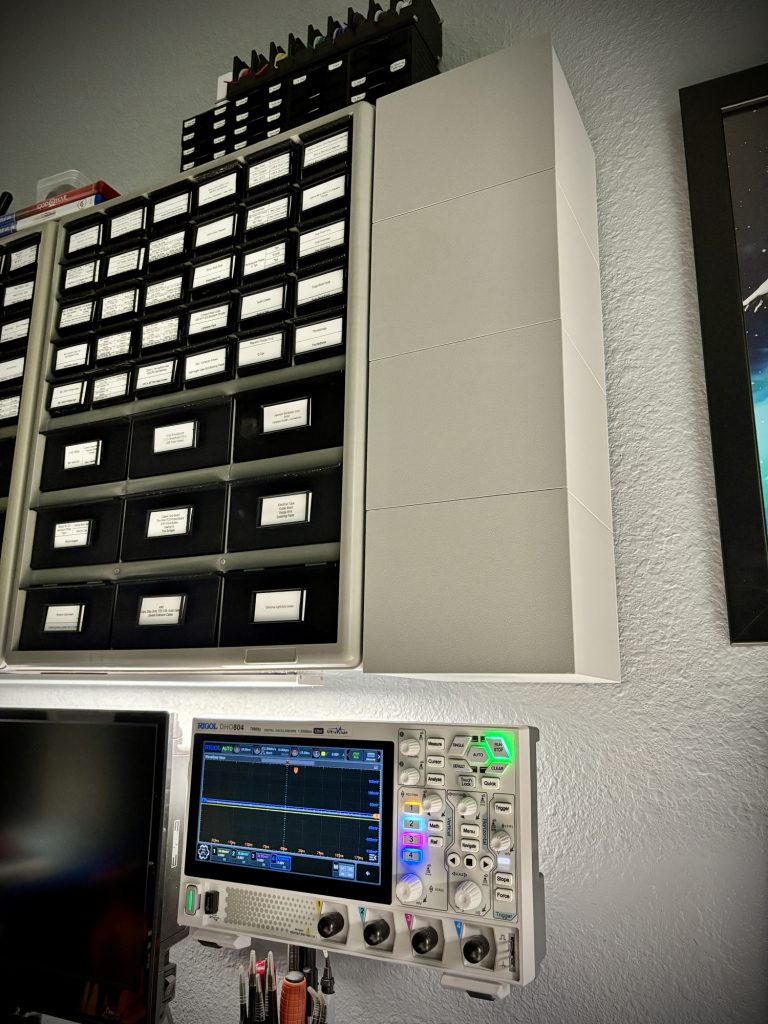
Akro-Mils Side Cabinet
Success! After a pretty extensive workout, my Bambu Lab P1P finished printing all of the pieces for my first cabinet. I was able to design all of the parts so they didn’t require supports, which kept the print time down. The cabinet sections took the longest; about 36 hours of printing. Designing them to not need supports really helped that time be as low as possible.
Printed parts weren’t the only things needed. I had some hardware left over from a previous project and I purposefully designed the cabinets to use them. Here’s what it takes:
- (Qty. 4) 3D printed cabinet sections
- (Qty. 4) 3D printed cabinet doors
- (Qty. 2) 3D printed shelves
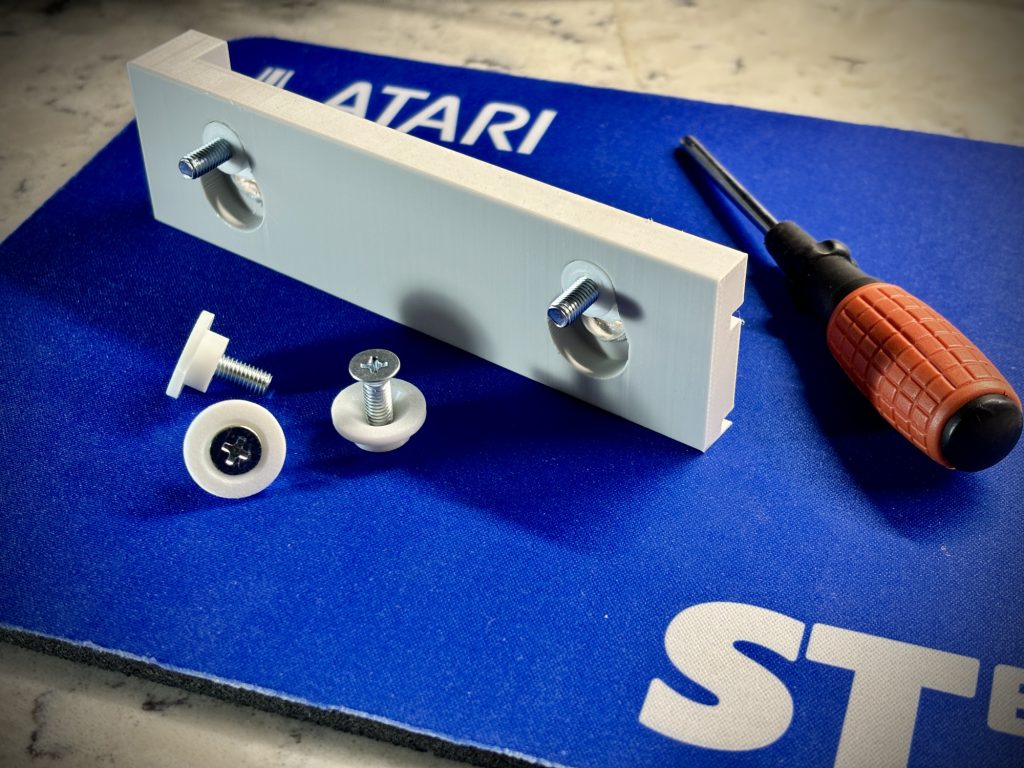
- (Qty. 8) 3D printed mounting buttons
- (Qty. 8) M5-0.8 12mm Philips flat countersunk head machine screws
- (Qty. 8) M5-0.8 coarse thread nuts
- (Qty. 32) 6x2mm round magnets

I started pulling parts from the pile on my workbench. The first step was to test-fit the cabinet sections together and, well, they fit great. After pulling them apart I added a very thin layer of PLA Gloop! to the tops and bottoms of the sections. They set up within 30 seconds, but I put some weight on them and left them alone for about two hours before continuing.
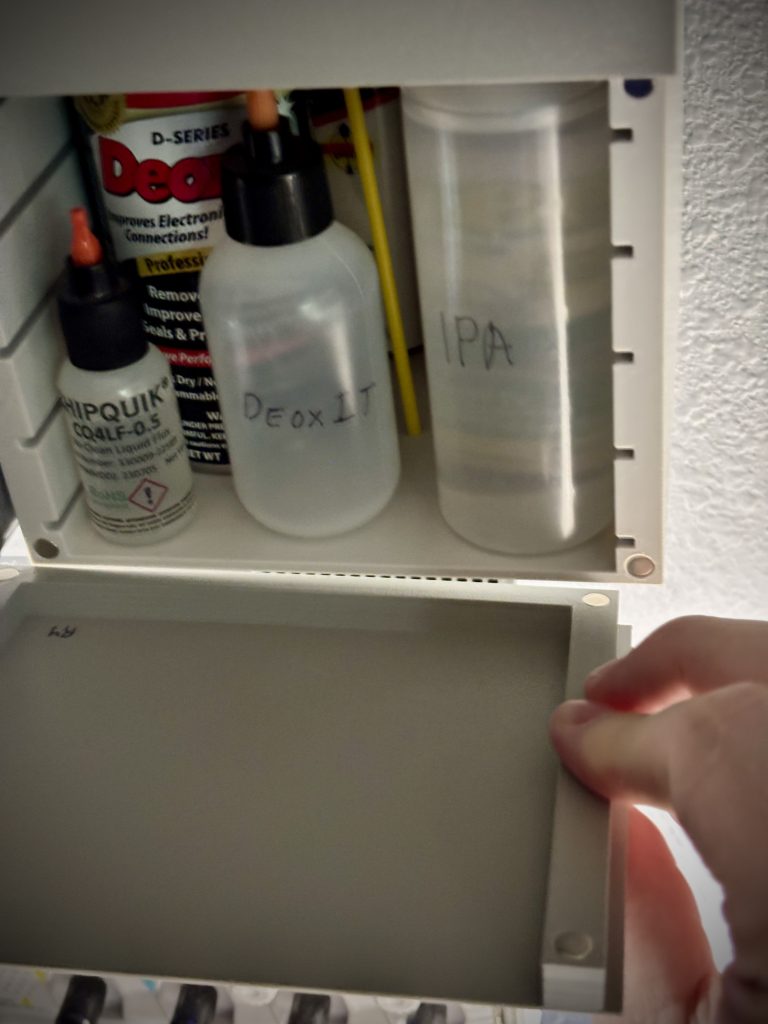
Next, I had to fit the magnets into the cabinet doors and the opposing magnets into the front faces of the cabinet sections, making sure the poles were attracting not repelling. Almost all friction-fit into place, however a couple needed a dab of CA glue.
The biggest challenge was mounting the buttons onto the side of the original Akro-Mils organizer. These are designed to allow the screw to pass through and secure the button to the side of the organizer. The cabinet then has shaped holes that allow it to be pressed against the side of the organizer, and then slowly drop down to lock the cabinet in place. These is typically called Keyhole Slot Hangers, but my interpretation is a bit more complex. It took a while to get them mounted to the side of the organizer and I added the nuts to the screws from the inside of the organizer. Once they were secured, the side cabinet was able to easily slide onto them.
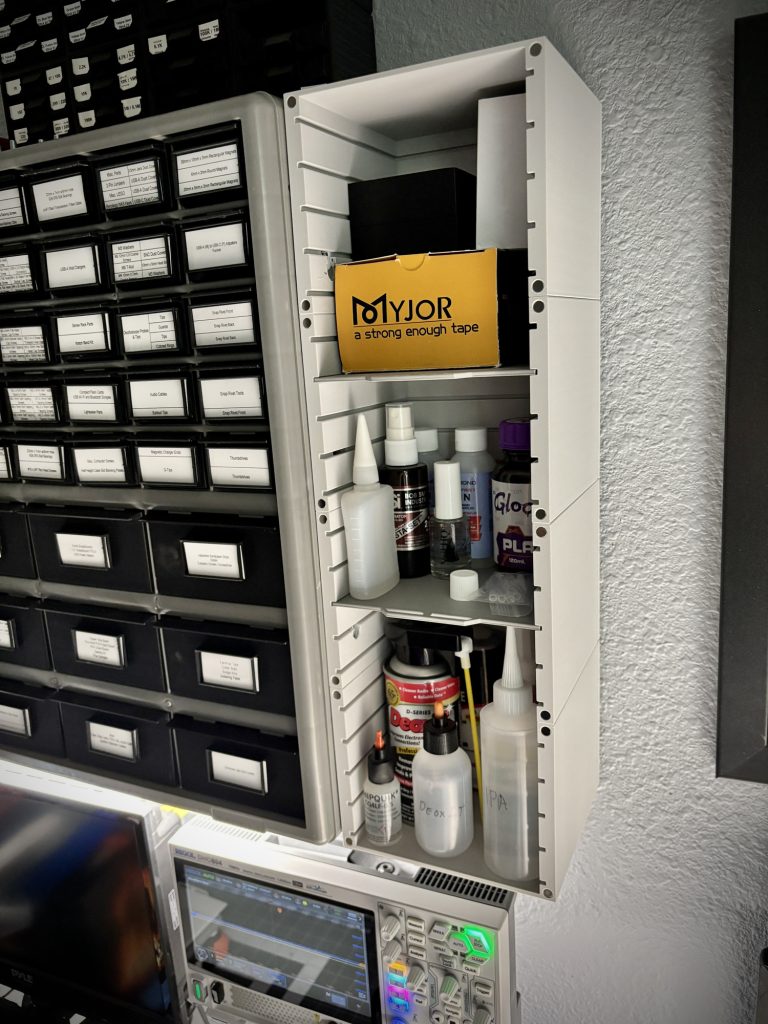
Lastly, I mounted the shelves, put all of the items in the cabinet, and covered it up. Next week I’ll start printing the other cabinet.
Happy Father’s Day
The wife, mother-in-law, and I will be heading out of town Saturday (tomorrow) morning to see my older daughter and her husband down in Miami. I’m sure they have something planned for me for the afternoon or evening. We’ll then head back home Sunday morning.